So my neighbor, Heather has a really nice tray sitting on her dining table, which I love. So I set out to make my own. Heather gave me a spare picture frame, to get started. Be prepared for many pictures of the progress. I have done this so if any of you feel that you want to give it go, then you have the instructions :) and not have to guess like me lol.
So what I'll do is post the picture and underneath, tell you what I did to achieve the results.
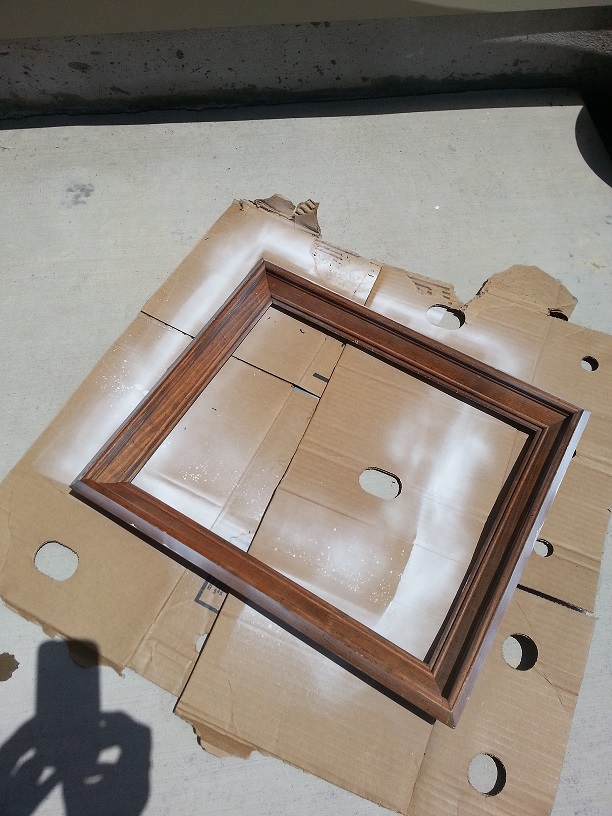
Here is the frame as is, brown and old! I used Krylon White Primer & Paint, Gave it 2 coats. And let it dry.
I wanted to use a natural stain, so I knew tea leaves worked on paper, so why not try wood. I used cedar wood.
Next while I waited for the frame to dry, I soaked the black tea bags (I used all of them) in hot water. I let them soak for the time it took for me to feed the girls and clean up lol (30 mins)
In the Picture on the right, you see I have wood lined up that I cut up into pieces earlier to fit into the frame. Oops I forgot to take a picture of that stage!!
I then used the previously soaked tea leaves and painted the wood with them leave the leaves on. Then I set them outside to dry. In the picture below you can see the end result ( the lighter wood)


Now in the first picture you can see a jar, filled with something yucky!! Don't be alarmed, it's nothing untoward! Lol.
I wanted to take the route of an all natural wood stain, so I googled and found a great site on how to make your own natural stain.
And scroll down to where it says : Altering Wood: Tannins.
I used the vinegar and steel wool. I had done this 3 days before I wanted to make the tray, as the steel wool needs to react with the vinegar.
In the second picture you can see that when I applied to the steel wool/vinegar stain on top of the tea stain, the wood turned a really dark brown, almost black!! I was wow, cool. I let it dry in the sun for about an hour.
BACK TO THE FRAME!
Next I painted the frame with the same paint I used to re-vamp my side table in an earlier post. I let that dry, then came back and decided I wanted it to have more color, so I added some blue to a dish and add the original color, till I got the color I wanted. You can see the difference in color . Let it dry!
Okay, these next two pictures, are the next stage. The first was to seal the wood I treated with my natural stains. I used Polycrylic sealant spray. Gave them about three coats. Can you see how deep and lush the stained turned out!!! I'm so happy.
2nd picture, once the paint had dried, I took so steel wool and rubbed to get the shabby look.
Next I used, liquid nails to secure the wood to the frame, also using it between each plank of wood. 2nd pic i weighted it down while it dried.
1st pic, I didn't like that you could see the brown wood, so I gave it a lighter wash using the same paint, and let it dry.
2nd pic, time to finish the project. Take your drill, wood screws & your swanky looking handles, from Hobby Lobby, and set to work.
I measured both sides so they would be even, then predrilled the holes, then screwed the handles on!
Here is the final project.
My Shabby Chic Tray!

Read more >>


.jpg)


